3 TIPS FOR BEGINNING QUILTERS
3 TIPS FOR BEGINNING QUILTERS:
TIP ONE: CHECK YOUR SEAM ALLOWANCE.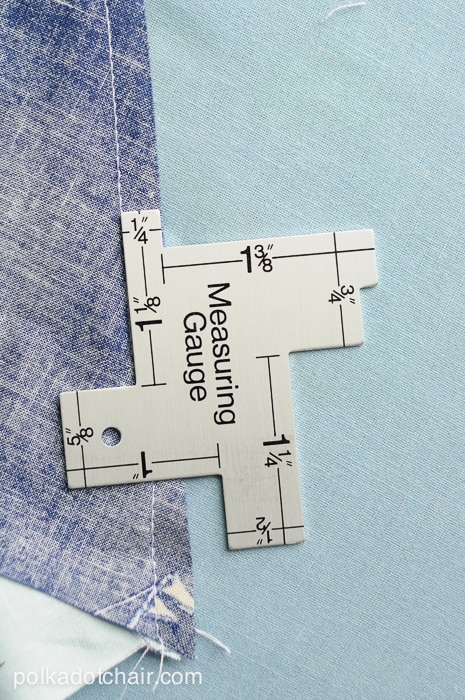
The majority of quilting patterns are based on a 1/4” seam allowance. If this is off by even a 1/16″ of an inch it can mess up your quilt. Quilts fit together like puzzles, think of what would happen if just one puzzle piece in a puzzle was the wrong size.. the same thing happens with a quilt. Every sewing machine is different from how it handles sewing a 1/4” seam allowance. (btw, a seam allowance is the space between the stitching line and the edge of the fabric).My older machine had a 1/4″ needle position setting that I used a standard foot. My current machine has a 1/4″ foot with a guide, I noticed though, even with the 1/4″ foot it’s off a smidge. I use my 1/4″ foot and adjust the needle one click to the right. I figured out it was off by testing my seam with a seam gauge. Get a seam gauge and test yours. Learn the best setting for your machine and use it consistently.
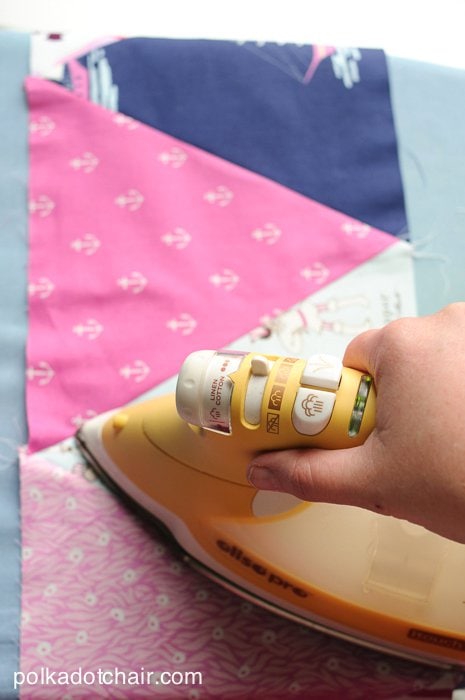
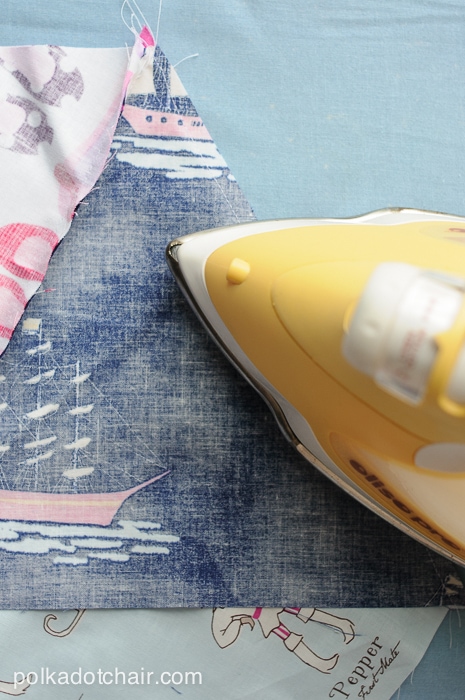
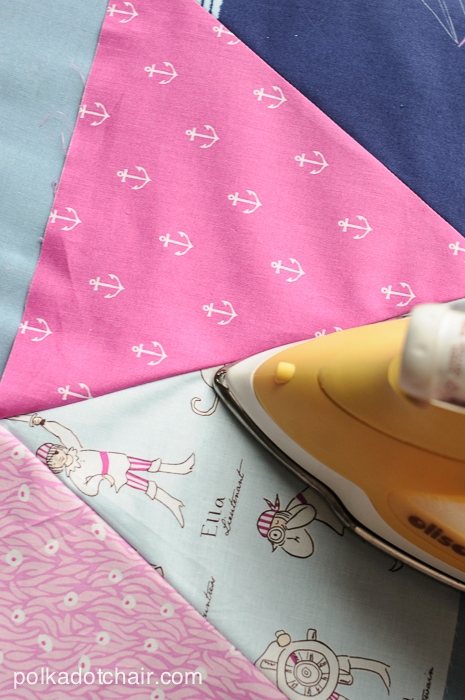
TIP TWO: LEARN THE CORRECT WAY TO PRESS.
I messed up BIG TIME with this one when I first started. You do NOT iron a quilt you press it. Don’t make large back and forth motions like you do when ironing clothes. Lift the iron up and down and press the seams of the quilt. Move the iron back and forth as little as possible. I can’t tell you how many seams I distorted when I first started.
To press a quilt. Start on the wrong side and press the seam once.
This sets the stitches.
This sets the stitches.
Flip the quilt to the right side and use the nose of your iron to wiggle into the seam to get it flat. Keeping thinking in your head “flat” you want your seams to be straight and flat.
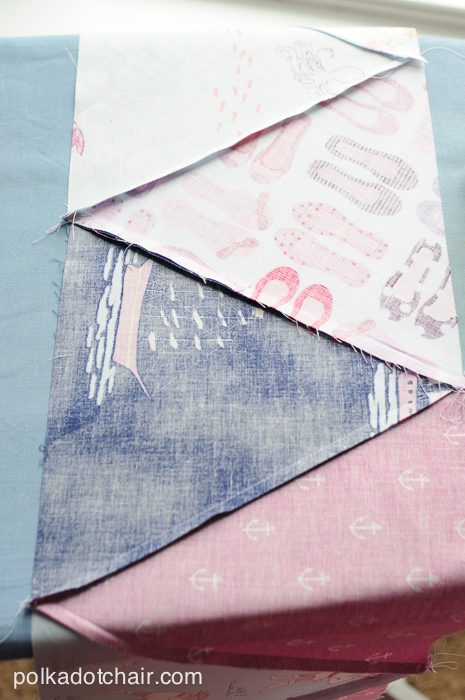
Press all of your seams to one side. Then alternate to the other side for the next row. This will allow your rows to fit together nicely. I press even rows towards me and odd rows away from me.
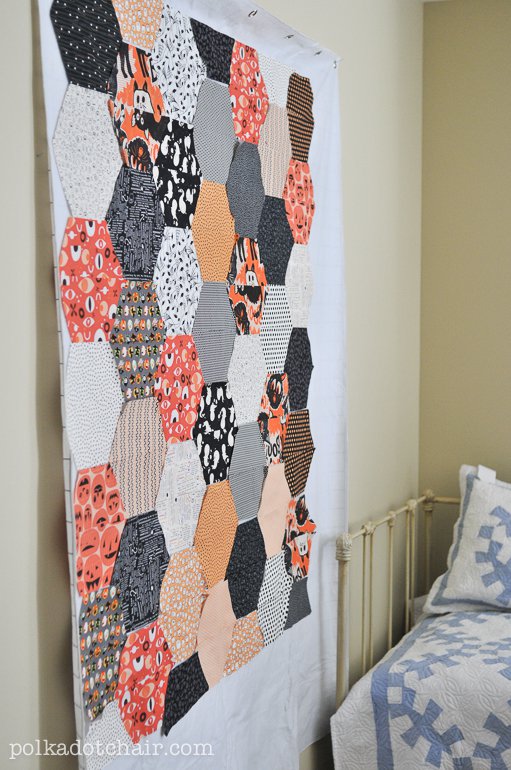
THREE: USE A DESIGN WALL.
(Large Hexagon Quilt blogged here) When I first started quilting I just thought, “I just want a random mix and it will all work out”… However, I would finish a quilt and realize that I had too much dark in one section of the quilt, or too much of a certain color in another part. A design wall allows you to layout your quilt before you sew it to check for the balance in your design. It’s crazy what you WON’T pick up on until you see it all laid out (or photographed).